
Introduction
Liquibase is a powerful tool for managing database schema changes. It allows for automatic application, rollback, and tracking of database structure changes in Spring Boot projects.
An alternative tool is Flyway, which is also widely used for database migrations. The key differences between them are:
- Liquibase supports migrations in XML, YAML, JSON, and SQL formats, while Flyway only supports SQL.
- Liquibase can automatically generate
rollback, whereas in Flyway, rollbacks need to be manually defined. - Flyway is simpler to use, but Liquibase is more powerful and flexible for complex database structures.
In this guide, we will set up database migrations using Liquibase in a Spring Boot project.
1. Setting Up the Project
Setting Up PostgreSQL with Docker
First, we need a PostgreSQL instance running locally. We’ll use Docker to set it up.
Pull the latest PostgreSQL image:
docker pull postgres:latest
Run a PostgreSQL container:
docker run --name postgres-container
-e POSTGRES_USER=admin
-e POSTGRES_PASSWORD=admin
-e POSTGRES_DB=devices_db
-p 5432:5432
-d postgres
Configuring the Spring Boot Project
Go to Spring Initializr, select Spring Boot, set Java version to 17, and add the following dependencies:
- Spring Data JPA
- PostgreSQL Driver
- Liquibase
Download the generated project and open it in your IDE.
2. Configuring Liquibase in Spring Boot
In the application.properties file, specify the database connection settings and Liquibase configuration:
spring.application.name=liquibase-migrations-example

# Database configuration
spring.datasource.url=jdbc:postgresql://localhost:5432/postgres
spring.datasource.username=admin
spring.datasource.password=admin
spring.datasource.driver-class-name=org.postgresql.Driver

# Hibernate settings
spring.jpa.hibernate.ddl-auto=none
spring.jpa.show-sql=true

# Liquibase settings
spring.liquibase.change-log=classpath:db/changelog/db.changelog-master.xml
It is important to set spring.jpa.hibernate.ddl-auto=none so that Hibernate does not modify the schema and all changes are handled through Liquibase.
3. Defining the Master Changelog File
In the db.changelog-master.xml file, specify the paths to the schema change files:
include file="db/changelog/changes/device-table.xml"


include file="db/changelog/changes/insert-devices.xml"
This file manages the execution order of database migrations.
4. Creating the Table Structure
The device-table.xml file defines the device table:
</pre>
<div><?xml version="1.0" encoding="UTF-8"?>
<databaseChangeLog xmlns="http://www.liquibase.org/xml/ns/dbchangelog"
xmlns:xsi="http://www.w3.org/2001/XMLSchema-instance"
xsi:schemaLocation="http://www.liquibase.org/xml/ns/dbchangelog
http://www.liquibase.org/xml/ns/dbchangelog/dbchangelog-3.8.xsd">

<changeSet id="1" author="devblueprint">
<createTable tableName="device">
<column name="id" type="UUID">
<constraints primaryKey="true" nullable="false"/>
</column>
<column name="name" type="VARCHAR(255)">
<constraints nullable="false" unique="true"/>
</column>
<column name="type" type="VARCHAR(255)">
<constraints nullable="false"/>
</column>
</createTable>
</changeSet>
</databaseChangeLog>
This changeSet creates the device table with id, name, and type fields.
5. Adding Data
The insert-devices.xml file inserts test records and supports rollback:
</pre>
<div><?xml version="1.0" encoding="UTF-8"?>
<databaseChangeLog xmlns="http://www.liquibase.org/xml/ns/dbchangelog"
xmlns:xsi="http://www.w3.org/2001/XMLSchema-instance"
xsi:schemaLocation="http://www.liquibase.org/xml/ns/dbchangelog
http://www.liquibase.org/xml/ns/dbchangelog/dbchangelog-3.8.xsd">

<changeSet id="2" author="devblueprint">
<insert tableName="device">
<column name="id" valueComputed="gen_random_uuid()"/>
<column name="name" value="Device1"/>
<column name="type" value="TypeA"/>
</insert>
<insert tableName="device">
<column name="id" valueComputed="gen_random_uuid()"/>
<column name="name" value="Device2"/>
<column name="type" value="TypeB"/>
</insert>
<rollback>
<delete tableName="device">
<where>name='Device1' OR name='Device2'</where>
</delete>
</rollback>
</changeSet>
</databaseChangeLog></div>
<pre>
This changeSet inserts two records and allows rollback.
6. Running Migrations
Running the Application and Verifying Migrations
After starting the application with mvn spring-boot:run or another method, open the database and verify that the device table has been successfully created and the test records have been inserted.

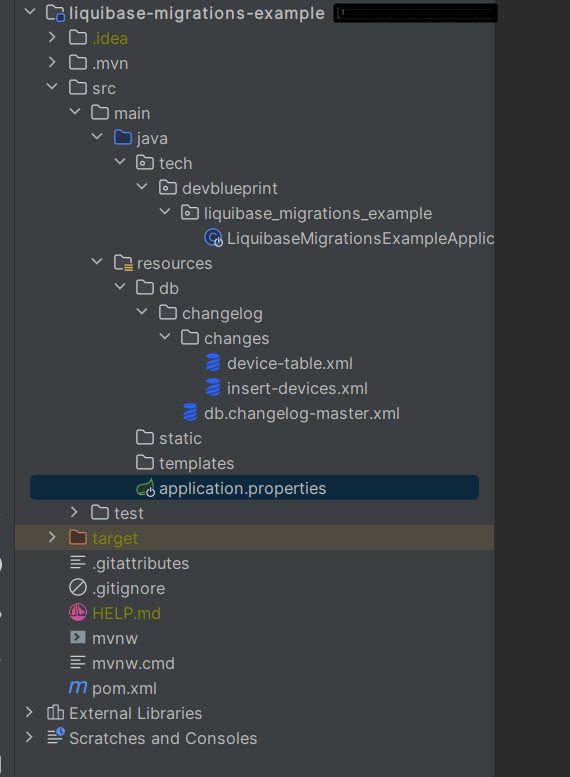
Project structure:
Conclusion
We have explored how to use Liquibase for managing database migrations in Spring Boot. We learned how to configure Liquibase, create migrations, add data, and roll back changes. This tool automates and controls database schema changes, making development more convenient and predictable.